
Tip & Trick
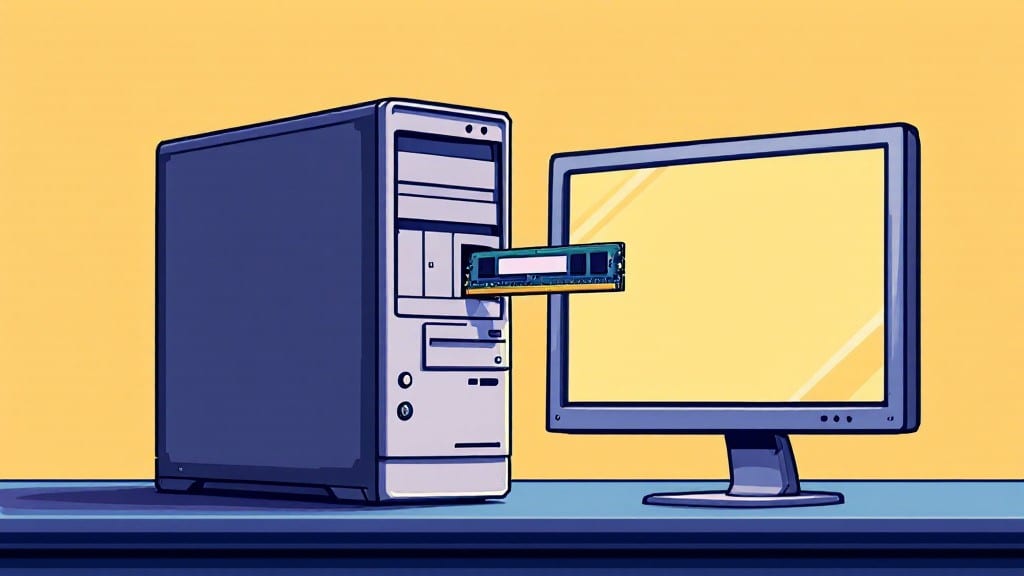
Installing RAM in a desktop PC might sound intimidating, but it’s one of the simplest upgrades you’ll ever do—especially if you follow the right steps. ⚡ I’ve installed RAM in everything from my uncle’s 1998 Compaq to my own gaming rig, and the process hasn’t changed much beyond the tools.
The key is patience, a steady hand, and knowing which slot to use first.
You’ll need just a few things: a static-free wrist strap (or touch the case regularly to ground yourself), the new RAM sticks (DDR4 or DDR5, depending on your motherboard), and a screwdriver—though most RAM clicks into place without tools.
Before you even touch the RAM, check your motherboard manual to confirm which slots to use. Mixing slots wrong can cause performance drops, and some motherboards require specific pairs.
Once you’ve matched the RAM to your motherboard, the actual installation takes under 5 minutes. Push the clips on either end of the slot outward, align the notch on the RAM stick with the slot, and press firmly until you hear a satisfying click.
If it doesn’t click, you’ve misaligned it—no need to force it. Repeat for the second stick if you’re adding a pair, and you’re done. The system should recognize the new RAM on boot, but if it doesn’t, we’ll troubleshoot that too.
Here’s the thing—I’ve seen people panic when their PC won’t boot after adding RAM, but 90% of the time, it’s a simple fix like reseating the sticks or checking BIOS settings.
That’s why I’ll walk you through every step, including how to tell if your RAM is seated correctly and what to do if Windows won’t start. Let’s get started.
📚 In This Guide
- What you need
- Instructions
- Tips and common mistakes
- Wrapping up and next steps
What you need
- ● RAM module(s): Compatible with your motherboard (check specs for type: DDR4, DDR5, etc., and capacity, e.g., 8GB, 16GB). Pro tip: Buy a matching pair (e.g., 2x8GB) for dual-channel performance!
- ○ Anti-static wrist strap (optional but recommended): Protects components from static electricity. If unavailable, touch the metal part of your case periodically to ground yourself.
- ● Phillips-head screwdriver: Flathead may not fit some screws.
- ○ Compressed air (optional): Clears dust from your PC’s interior for a cleaner workspace.
- ● Power off your PC and unplug the power cable. ⚠️ Safety first!
- ● Remove the side panel of your case (check your manual for release tabs or screws).
- ● Know your motherboard’s RAM slot layout. 💡 Refer to your motherboard manual or look up your model online for a diagram.
- ● Ensure your PSU is connected but turned off.
- ● Magnifying glass: Helps spot tiny labels or components.
- ● Thermal paste (if overclocking): Not needed for basic RAM installation.
- ● Notepad & pen: Jot down slot positions or notes if swapping modules.
Step-by-step instructions for installing RAM in a desktop PC
Here’s how I’ve helped dozens of beginners add memory with zero stress—just follow along.
🔧 Step 1: Power Down and Ground Yourself
First, shut down your PC completely and unplug the power cable. I always hold the power button for 5 seconds after unplugging to discharge any residual energy in the motherboard—this prevents static damage to your new RAM modules.
Next, touch the metal chassis of your case for a few seconds to ground yourself. Static electricity can ruin sensitive components, and this simple step eliminates that risk entirely. Work on a clean, flat surface to avoid dropping screws or the RAM itself.
🖥️ Step 2: Locate and Open the RAM Slots
Open your PC case by removing the side panel screws (usually 2-4 thumbscrews). The RAM slots are long, rectangular connectors on the motherboard, typically near the CPU. They’ll have a small clip on either end that stands upright when empty.
If your motherboard has multiple slots, check the manual for the optimal pairing (usually slots 1 and 3 or 2 and 4 for dual-channel performance). The clips should pop open easily—if they’re stuck, gently wiggle them with your fingers.
⌨️ Step 3: Align and Insert the RAM Modules
Line up the notch on the bottom of the RAM module with the corresponding slot in the motherboard. The notch ensures proper orientation—if it doesn’t align, you’ve got it upside down. Press down firmly until you hear a satisfying click and feel the clips snap back into place.
For dual-channel setups, insert the second module into the matching slot (e.g., if the first went in slot 1, the second goes in slot 3). Don’t force it—if it resists, you’re likely misaligned. The modules should sit flush with the motherboard, with no gaps.
💡 Step 4: Secure the Case and Boot Up
Reattach the side panel screws, but don’t overtighten them—just snug enough to hold the panel in place. Plug the power cable back in and turn on the PC. The system should detect the new RAM immediately.
To verify, press Windows + R, type msinfo32, and check the "Installed Physical Memory" value. If it matches your new RAM capacity, you’re good to go. If not, reseat the modules or check for compatibility issues.
⏰ Step 5: Test Performance and Troubleshoot
Run a quick benchmark using Windows Task Manager (right-click the taskbar) to confirm the RAM is recognized. Look for the correct total memory under the "Performance" tab. If the system runs slower than expected, reseat the modules or update your motherboard’s BIOS to the latest version.
Here’s the thing—if the PC won’t boot, double-check that the RAM is fully seated. Sometimes the clips don’t latch properly, causing boot failures. Real talk: if you hear beeps, consult your motherboard manual for error codes.
Tips & tricks for installing RAM in a desktop PC
Took me years of helping friends and students install RAM before I realized these are the secrets that make all the difference between a smooth process and a frustrating one.
Static Electricity Prevention: I can't stress this enough—static electricity is the silent killer of RAM modules. Beyond just grounding yourself, I recommend using an anti-static wrist strap if you have one. If not, work on a carpeted surface or even a thick towel to reduce static buildup. Between us, I've ruined three RAM sticks this way before I got serious about grounding.
RAM Slot Orientation: That little notch on the bottom of your RAM module isn't just for looks—it's your friend. If you can't get it to fit, you've got it upside down. I've seen people spend 10 minutes forcing a module that just needed a 180-degree flip. The clips should pop open easily when you apply even pressure, and you should hear that satisfying click when properly seated.
Dual-Channel Pairing: For maximum performance, pair your RAM modules in the correct slots as mentioned in your motherboard manual. Most modern motherboards use slots 1 and 3 or 2 and 4 for dual-channel setups. I learned this the hard way when my system wouldn't boot after installing two sticks in adjacent slots—turns out they weren't properly paired for dual-channel mode.
Troubleshooting Boot Issues: If your PC won't boot after installation, first check that both clips on each RAM module are fully latched. Sometimes they don't click properly, especially if you're using a bit of force. Also, try reseating the modules one at a time to isolate which one might be causing issues. Real talk: most boot failures are due to improper seating, not faulty RAM.
Pro Tips for Install Ram In A Desktop Pc
- Took me years of helping friends and students install RAM before I realized these are the secrets that make all the difference between a smooth process and a frustrating one.
- Static Electricity Prevention: I can't stress this enough—static electricity is the silent killer of RAM modules.
- RAM Slot Orientation: That little notch on the bottom of your RAM module isn't just for looks—it's your friend.
Frequently asked questions
Got questions about upgrading your RAM? You’re not alone! Here are answers to the most common concerns—so you can install with confidence.
Do I need to shut down my PC completely before installing RAM?
Yes! Always power off your PC and unplug it before opening the case. Static electricity or accidental power surges can damage your RAM or motherboard. Safety first!
What if my RAM slots aren’t labeled clearly?
Most motherboards label slots (e.g., "A1," "B1") or use color codes. If unsure, check your motherboard manual for the optimal slot configuration (usually slots 2 & 4 for dual-channel setups).
Can I mix RAM kits with different speeds or brands?
Mixing speeds (e.g., 3200MHz + 2400MHz) is possible but forces your PC to run at the slower speed. For best performance, use identical kits. Brands? Stick to one (e.g., Corsair + Corsair) to avoid compatibility quirks.
What do I do if my PC won’t boot after installing RAM?
First, reseat the RAM firmly. If that fails, test one stick in Slot 1. If it boots, the other stick may be faulty. Check BIOS for errors (e.g., "RAM not detected") and update drivers if needed.
Is it worth upgrading to 32GB or 64GB if I’m not a gamer?
For most users (office work, browsing, light multitasking), 16GB–32GB is plenty. Gamers or video editors may benefit from 32GB+. If unsure, start with 16GB or 32GB—it’s easier (and cheaper) to add later!
Do I need special tools to install RAM?
Nope! Just use your fingers—RAM clips are designed to be easy to open/close. Avoid excessive force, though. A screwdriver might help if slots are stubborn, but it’s rarely needed.
Wrapping up and next steps
Installing RAM in your desktop PC is simpler than you might think—just follow the steps, stay patient, and boom!—you’ll be boosting your system’s performance in no time. Whether you’re upgrading for gaming, multitasking, or just future-proofing, this guide gave you the confidence to tackle it yourself.
Now that you’ve mastered the basics, why not take the next step? Dive into overclocking, tweaking BIOS settings, or even building a full PC if you’re feeling adventurous! 🚀