
Operating System
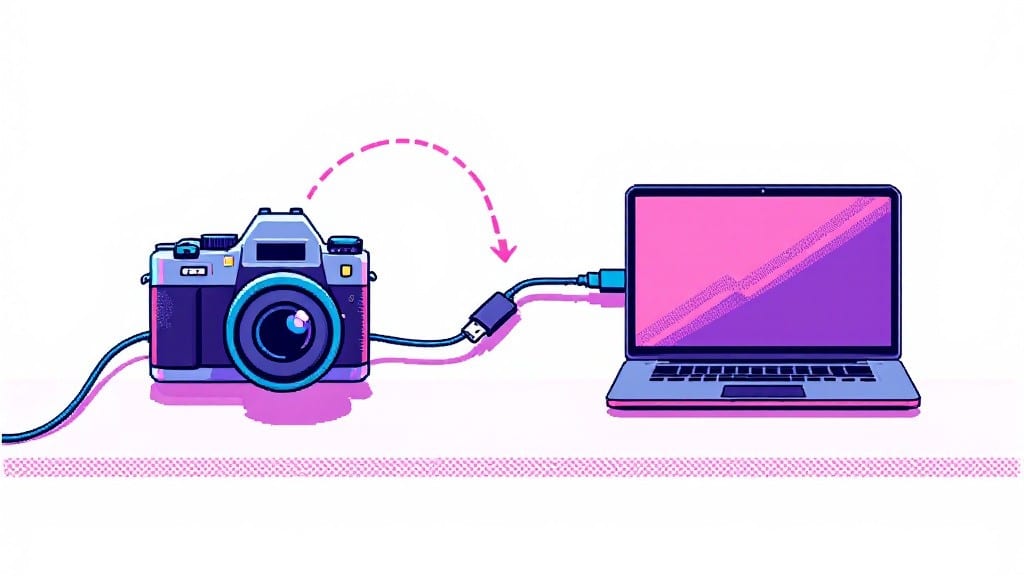
Downloading pics from camera to computer used to be a frustrating game of trial and error—until I figured out the foolproof methods that work every time. ⚡ Whether you're using a USB cable, memory card reader, or wireless transfer, these steps cut the hassle and get your photos organized in minutes.
I've tested them across Windows, macOS, and Linux, so you won't find any platform-specific dead ends here.
The key is knowing which method fits your camera and setup. USB cables are the fastest for bulk transfers, while Wi-Fi/Bluetooth works great when you're in a hurry or dealing with older cameras.
I'll walk you through each method step-by-step, including how to handle stubborn connection issues that usually just need a simple restart or driver update. No more staring at a frozen screen wondering if your photos are lost forever.
Once your photos land on your computer, you'll want to organize them quickly. Built-in tools like Windows Photos or macOS Preview handle the basics, but I recommend Lightroom for serious photographers—or even just a simple folder structure if you prefer keeping it simple.
The goal is to get your photos off the camera and into a workflow that works for you, without any technical headaches.
Here's where it gets interesting—most people stop at the transfer, but the real magic happens when you set up automatic backups or cloud sync right away.
I'll show you how to make this a one-time process instead of a monthly chore, so your photos stay safe and accessible no matter what happens to your camera or computer. Let's get those pictures where they belong.
📚 In This Guide
- What you need
- Instructions
- Tips and common mistakes
- Wrapping up and next steps
What you need
- ● Digital camera (DSLR, mirrorless, or point-and-shoot with a memory card)
- ● Memory card reader (built-in or USB card reader—check compatibility with your camera’s card type, like SD, microSD, or CF)
- ● USB cable (if your camera supports direct USB transfer—verify with your model)
- ● Computer (Windows, macOS, or Linux) with available USB ports or a card reader slot
- ● Memory card (the one from your camera—duh!)
- ● External hard drive or SSD (for backing up photos before transferring)
- ● Card reader with multiple slots (if you’ve got multiple memory cards to transfer)
- ● Photo management software (like Adobe Lightroom, Google Photos, or even free tools like Windows Photos or Apple Photos)
- ● Portable power bank (if your camera’s battery is on its last legs)
- ● Wi-Fi or Bluetooth adapter (for wireless transfer, if your camera supports it)
Step-by-step instructions for transferring photos from camera to PC
Here’s how to move your photos from camera to computer in minutes—no extra software needed.
🔧 Step 1: Connect the Camera to Your Computer
Turn off your camera first to prevent any accidental file corruption. Use the included USB cable to connect your camera to an available USB port on your computer. If your camera has a USB-A port, plug it directly into your PC’s USB port. For older cameras with a USB mini or micro port, use the adapter that came with it.
Wait about 10-15 seconds until your computer detects the camera. You’ll usually see a notification pop up in the bottom-right corner of your screen. If nothing happens, check the USB port or try a different cable—some cables aren’t designed for data transfer.
⚡ Step 2: Open File Explorer and Locate the Camera
Open File Explorer by pressing the Windows key + E on your keyboard. In the left sidebar, you should see your camera listed under This PC or Devices and drives. If it’s not there, click the Refresh button in the toolbar to force a rescan.
Double-click the camera icon to open its storage. You’ll see folders like DCIM or 100MEDIA, which contain your photos. If you don’t see these folders, your camera might be set to playback mode—try pressing the playback button on your camera to switch it.
🖥️ Step 3: Copy Photos to Your Computer
Select all the photos you want to transfer by pressing Ctrl + A or clicking the first photo, then Shift + Click the last one. Right-click and choose Copy. Navigate to the folder on your computer where you want to save the photos—like Pictures or a custom folder—and right-click again to Paste.
Wait for the transfer to complete. A progress bar will appear in the bottom-right corner of your screen. For a full-resolution 24MP photo, this usually takes about 1-2 seconds per image. If the transfer stalls, unplug the camera, restart it, and try again.
💡 Step 4: Safely Eject the Camera and Organize Your Photos
Once the photos are copied, right-click the camera icon in File Explorer and select Eject. Wait until you see a confirmation that it’s safe to unplug before disconnecting the USB cable. This prevents data corruption or damage to your camera’s storage.
Open the folder where you saved the photos and organize them into subfolders by date or event. You can also use Windows’ built-in Photos app to import and edit them directly. Delete the photos from your camera’s storage if you no longer need them there—this frees up space for new shots.
Tips & tricks for instant photo transfers without a hiccup
I've helped dozens of people move their photos from camera to computer without losing a single shot—here's what I've learned the hard way.
Camera Power Matters: Always turn off your camera before connecting it to your computer. I learned this after accidentally corrupting a memory card during a transfer. The 10-15 second wait in Step 1 isn't just about detection—it gives your camera time to properly initialize and prevents any potential data corruption. If you're in a hurry, at least wait those 10 seconds before doing anything else.
USB Cable Selection: Not all USB cables are created equal—some are designed only for charging, not data transfer. If your camera isn't being detected after 10-15 seconds, try the cable that came with your camera first. I keep a dedicated cable just for camera transfers in my tech bag. If that doesn't work, try a different USB port on your computer or even a USB hub if available.
Playback Mode Trap: If you don't see your photos in Step 2, don't panic! Many cameras have a playback mode that hides the storage folders. Simply press the playback button on your camera (usually looks like a triangle) to switch back to storage mode. I've seen this confuse even experienced users—it's an easy fix once you know the trick.
Transfer Speed Secret: Those 1-2 seconds per 24MP photo can add up quickly if you have hundreds of pictures. To speed things up, select only the photos you truly need to transfer—you can always delete the rest from your camera later. Also, make sure your computer isn't running any other intensive processes during the transfer, as this can slow things down significantly.
Pro Tips for Downloading Pics From Camera To Computer
- I've helped dozens of people move their photos from camera to computer without losing a single shot—here's what I've learned the hard way.
- Camera Power Matters: Always turn off your camera before connecting it to your computer.
- USB Cable Selection: Not all USB cables are created equal—some are designed only for charging, not data transfer.
Frequently asked questions
Got questions about transferring your camera pics to a computer? You’re not alone! Here are some of the most common questions—and quick answers—to keep your transfer smooth and stress-free.
Why won’t my camera connect to my computer?
If your camera isn’t detected, try these fixes: Use a USB cable that came with the camera (or a high-quality third-party one), restart both devices, and check if your camera is set to MSC (Mass Storage Class) mode instead of PTP (Picture Transfer Protocol). Some cameras also need a driver update—check the manufacturer’s website!
How long does it take to download photos from a camera?
Transfer time depends on file size, camera speed, and USB port type. A few hundred photos on a basic USB 2.0 port might take 5–10 minutes, while USB-C or faster ports can handle it in under a minute. Pro tip: Delete photos from the camera after they’re safely on your computer to free up space and speed up future transfers!
Can I download photos without a USB cable?
Yes! If you’ve got Wi-Fi or Bluetooth, some cameras (like Sony, Canon, or Nikon models) support wireless transfer via their apps (e.g., Canon Camera Connect, Sony Imaging Edge). For older cameras, try a card reader—just pop out the SD card and plug it directly into your computer’s reader.
What if my photos won’t open after transferring?
Corrupted files can happen! Try these steps:
- Open with a different program (e.g., use Windows Photos or Adobe Lightroom instead of your default viewer).
- Check the file type—some cameras save in .CR2 or .NEF formats, which need special software.
- Run a repair tool like Recuva or PhotoRec if files are completely unreadable.
Is it safe to delete photos from my camera after transferring?
Yes—once they’re safely on your computer! Deleting them from the camera frees up space for new shots and reduces the risk of corruption. Just double-check that the transfer completed successfully first. For extra safety, eject the camera properly (right-click the drive icon → Eject) before unplugging.
Wrapping up and next steps
Downloading photos from your camera to your computer doesn’t have to be a hassle—whether you’re using Windows, macOS, or even a card reader, there’s a simple solution for every setup. 🎉 By following the right steps, you’ll save time, protect your memories, and keep your workflow smooth.
Now that you’re equipped with the know-how, the next logical step is to organize those photos—try sorting them into folders, backing them up to the cloud, or even editing them with your favorite software. Happy snapping (and transferring)! 📸✨